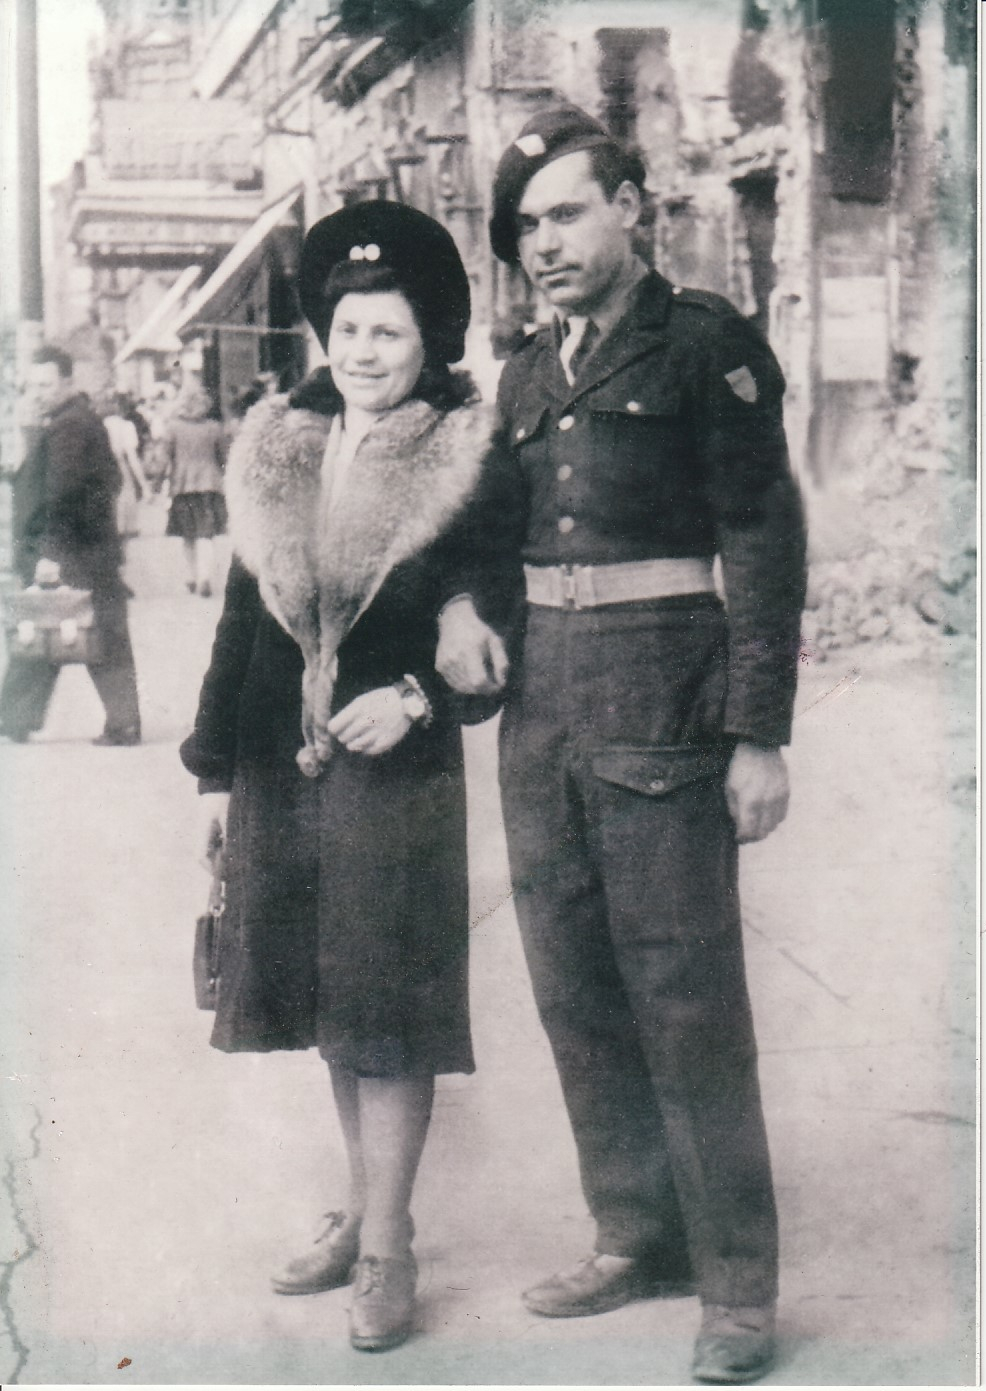
Here is a photo of my grandma and grandpa somewhere in Europe at the end of WWII. I'd like to find out more about this photo and about George's military service.
All I know about George's service, is what was told to me when I was a younger teenager. Supposedly he fought with the British in Italy. He was a Sargent or higher rank. He used a Thompson submachine gun to "cut German's in half". He was wounded, shot in the ass, supposedly by a German playing dead. My dad (George's son) thinks he was shot from a woman's husband after getting caught with his wife.
He was born in Serbia in 1911. His name was George Jovanovich before he came to the USA. He dropped the 'h' from the end of his last name to make it sound more "American". I believe he lived in Belgrade. His brother or dad owned a car dealership. This info is stuff I'm trying to remember from my childhood (20+ years ago).
Stella is from Lithuania. I don't know her maiden name. She had a husband in Lithuania that was a pilot and was killed in the war. She had a son, my uncle Paul. All the males of her family were taken to Siberia when the Russians invaded. Her, her sister Vanda (maybe sisters) and her toddler somehow survived the war on the Eastern Front.
Stella met George somewhere in Europe at the end of the war. They were married and had a baby (my aunt Zita). They came to the USA sometime after Zita was born (48'-50') and before my dad, Alex, was born (53'). They lived in Chicago, Illinois and then later in life owned property in New Buffalo, Michigan.
Stella never spoke English, but she did speak plenty of other languages. George spoke English. My dad would translate so I could communicate with Grandma Stella.
One of my favorite memories of Grandma Stella, is her eating an entire apple. Core and all and spitting out the seeds. She was tough. She fell and broke her arm when she was in her 90's. She refused a cast and just walked over to a table and pushed it back into place like it was no big deal. They got her to wear an arm brace for a week.
If anyone has any good leads to find more information about this photo, please let me know. Thanks!